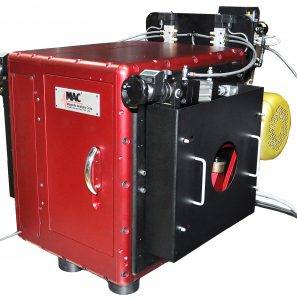
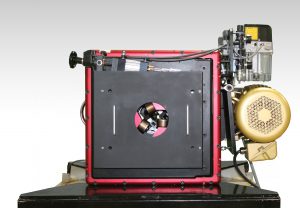
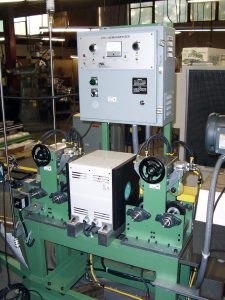
Flux Leakage Tester for Detecting Surface Defects in Hot Rolled Black Steel Bar
- Designed to test hot rolled bar from 15mm to 130mm in diameter.
- Incorporates wireless signal transfer features to minimize noise while maximizing sensitivity.
- Detects longitudinal flaws as small as 0.1mm deep on hot rolled bars and rods, depending on the material condition.
- Operates up to 1500 rpm, depending on product diameter.
- A simple adjustment tool allows for quick resetting for dimensional changes.
- Operates with Rotoflux® AC electronics.
The Rotoflux® AC combines superior technology and performance, and offers these additional important features:
- Provides full quadrature detection to preserve phase selectability.
- Choice of all phase and chord gates, similar to a conventional Eddy Current tester.
- New Probe screen offers sensitivity and phase adjustment for each individual channel.
- Features 2 surface ride Probe Arrays consisting of 8 elements, each covering up to 160mm per rotation.
- Throughput speed of up to 4m/s (800 FPM). Larger diameters require slower FPM speeds.
- Shares common graphic user interface with other MAC systems such as UT and EC testers.
- 180mm unit also available.
You may also like
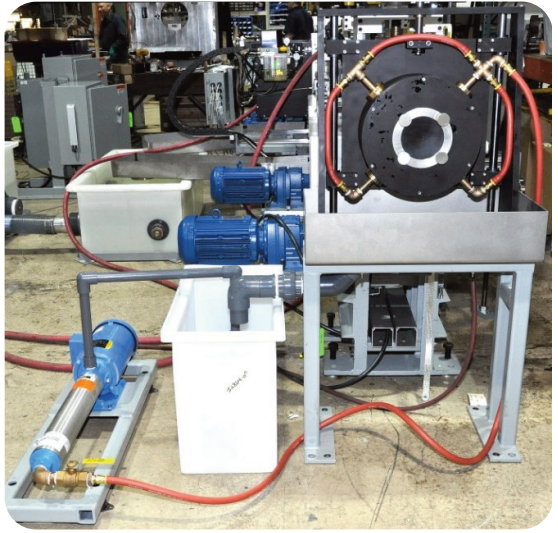
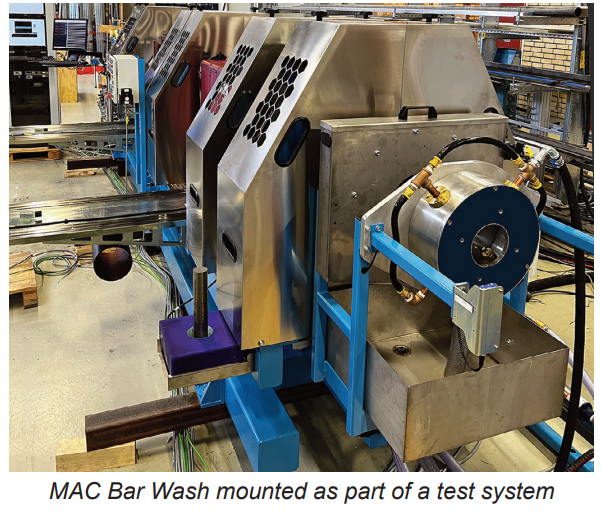
MAC BAR WASH
Prevent False Test Signals from Contaminated Bar & Tube Surfaces & Reduce Rotary Cleaning Downtime.
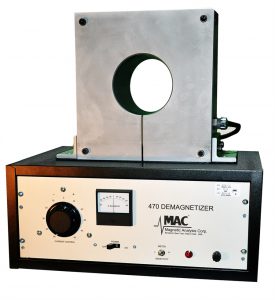
DEMAGNETIZERS
Demagnetizers permit efficient, continuous elimination of unwanted magnetism in ferrous rod, wire, bar and tubing
